
You upgraded SSD, or just want a fresh start for your Asus Rog Ally – but you don’t know where to start? Follow this guide to reinstall you Asus Rog Ally from scratch.
Ok, so let’s say you just bought new drive and install into your Asus Rog Ally, or something is terribly wrong with your Windows install and you wish to do a fresh reinstall after you removed all your data, but you don’t know where to start. Together we will go through few methods, and here is the first one.
Few important bits:
Backup your data before you start this process!!
For this method for work you should have WiFi with active and good internet connection.
Make sure your Asus Rog Ally is connected to power supply, and that battery is ideally full, if not, then at least at 50%.
I cannot be responsible for any type of damage or loss you do take by following this guide. Physical, mental, technological or any other possible loss!
Whole process took about two hours in my case, so be patient. I have relatively fast internet (1Gb/s) so download should be plenty fast in my case, but still, this process took time.
At the time of writing this (January 2024) image that you’ll get from Asus is Windows 11 Home 22H2. Image I got is english one, Depending on your region and place you bought you Asus Rog Ally, your Windows installation and language may be different.
One more thing before we continue – this process is long, has many restarts and screens that are changing. I won’t be screenshotting every one of them, because it does not make sense, there is a lot of information screens that don’t need your interaction.
Boot into BIOS
Turn off your Asus Rog Ally and boot into BIOS after that. If you don’t know how, here is a quick guide – How to access BIOS and Boot menu on Asus Rog Ally – DeckGuy
On main BIOS screen press Y or press on screen Advanced Mode option
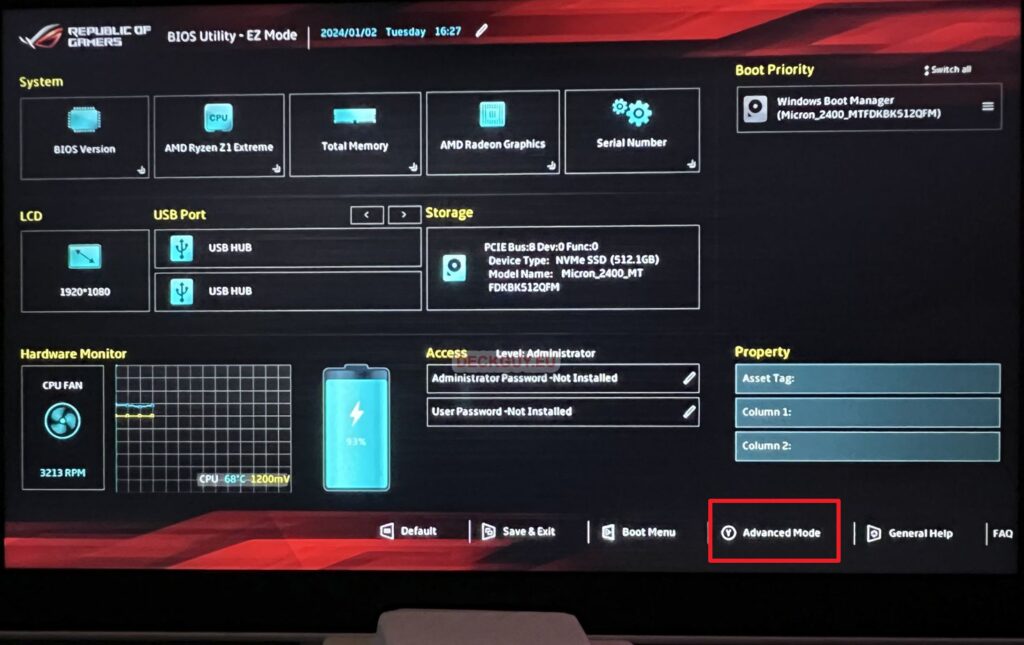
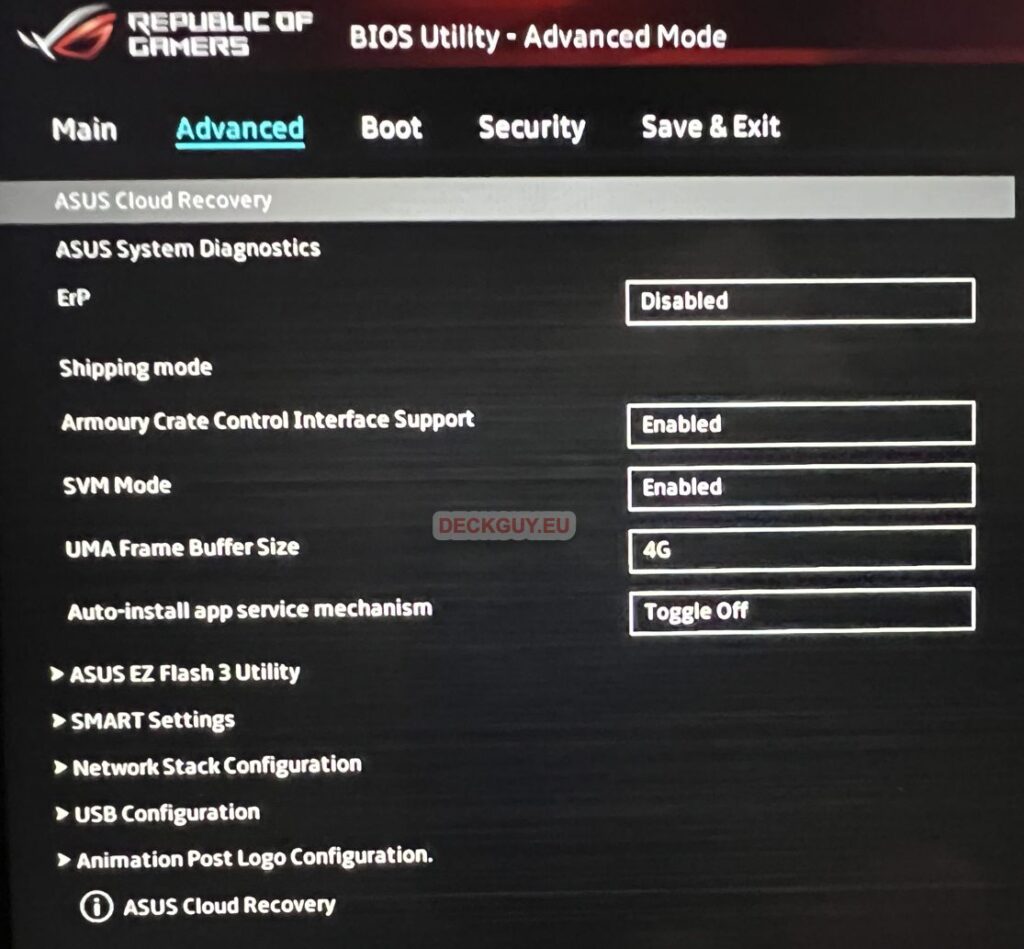
Navigate by pressing RB (or pressing on screen) to Advanced menu and select Asus Cloud Recovery
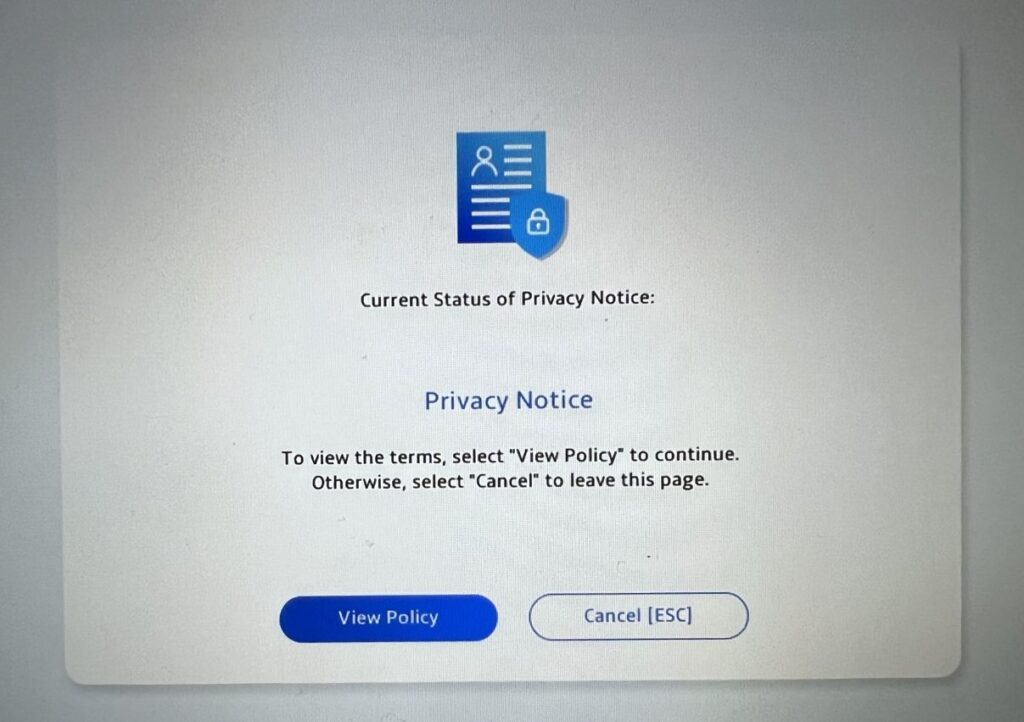
New screen will open on which you’ll have to View Policy and accept it if you wish to continue with recovery.
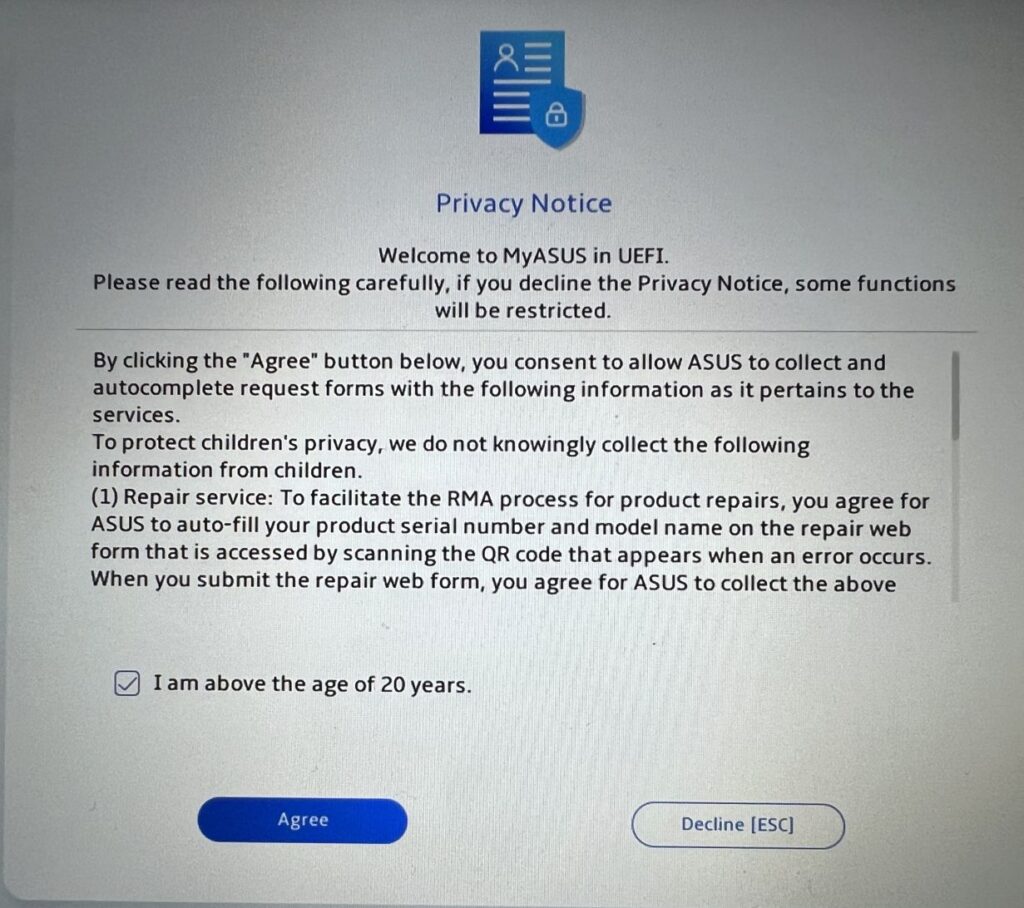
I’m above 20 years and I Agree
(You can safely skip these four lines if you haven’t touched anything in BIOS. At this point, if you messed with secure boot and disabled it, you should enable it. Problem is, if you don’t have Windows installed, you probably won’t be able to enable secure boot. You will have to install Windows other way – check on my blog how.)
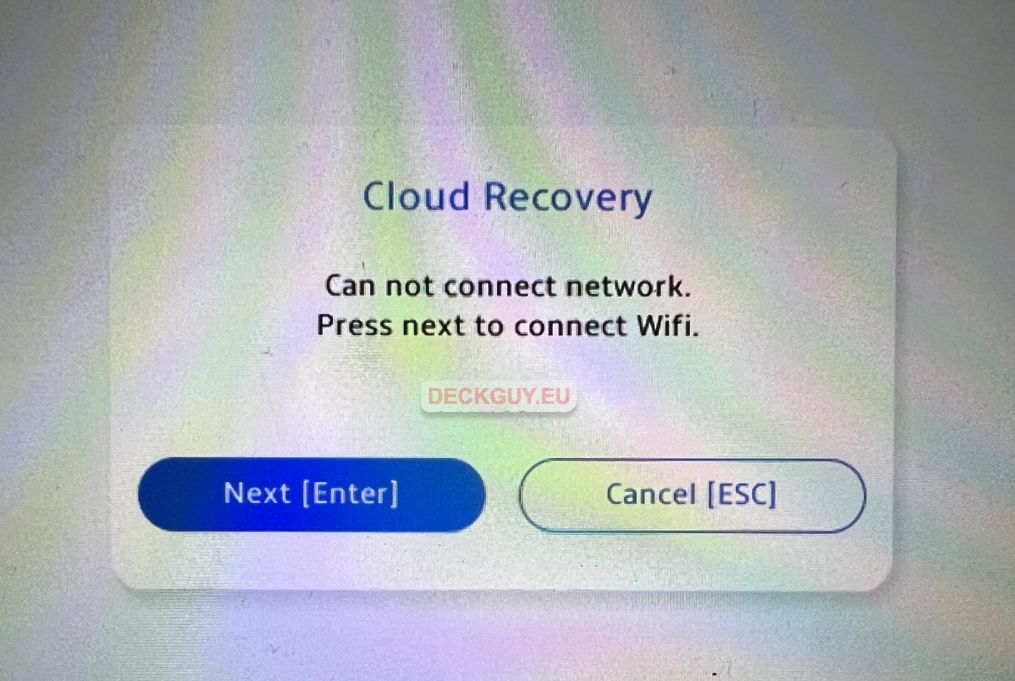
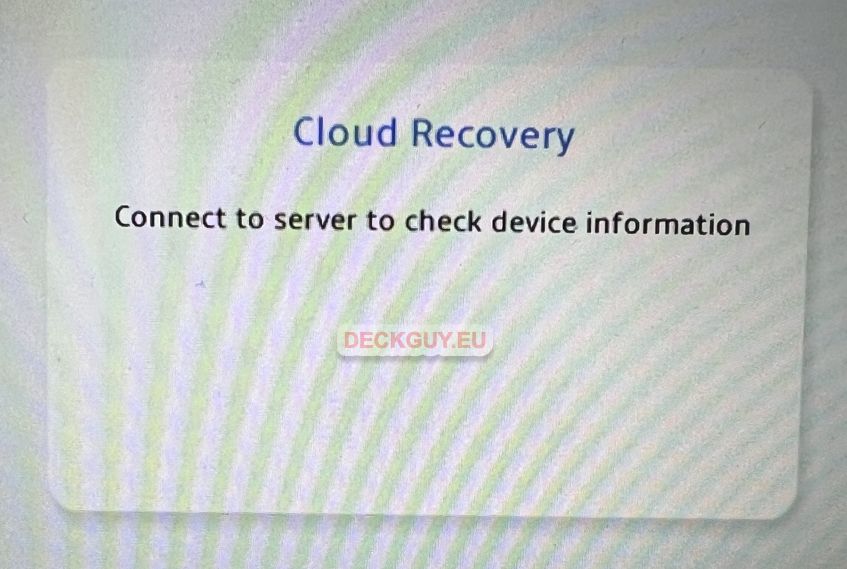
Next screen should be connection check. Press Next
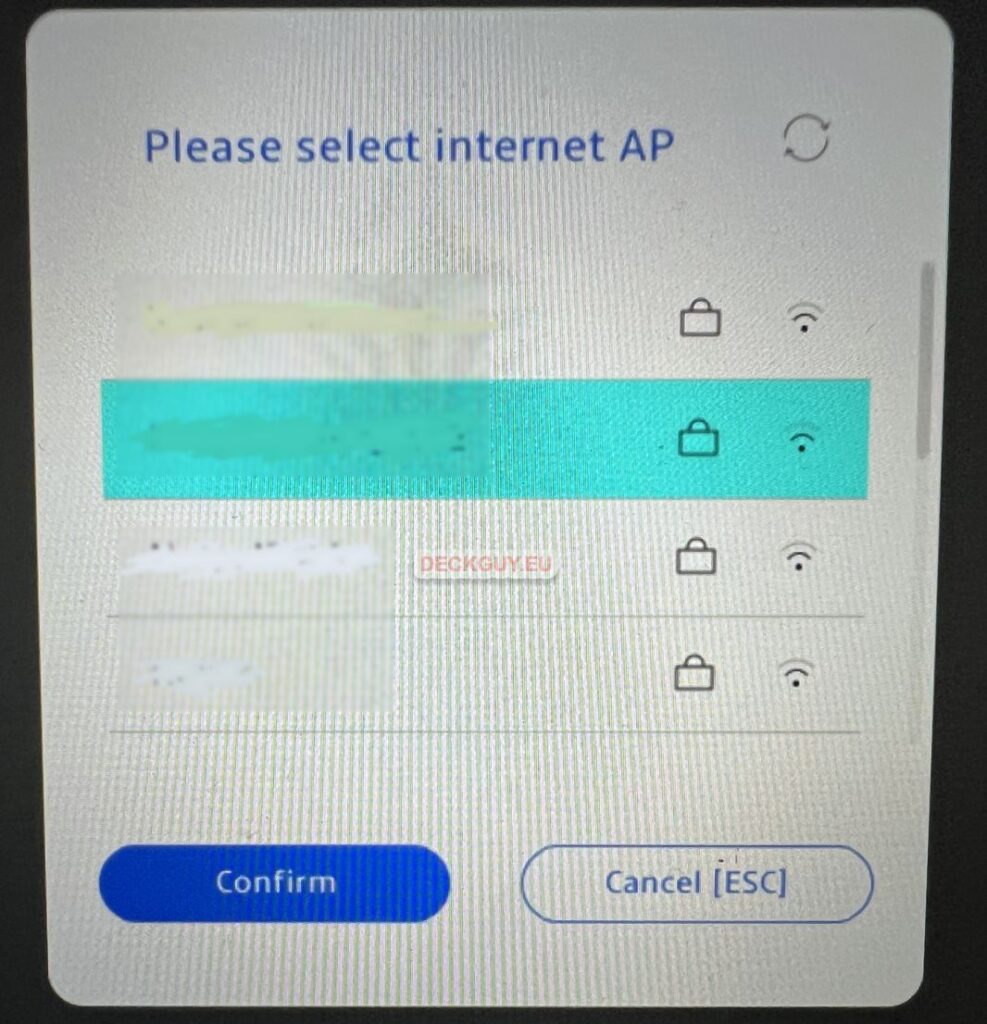
Select your WiFi network and click on Confirm
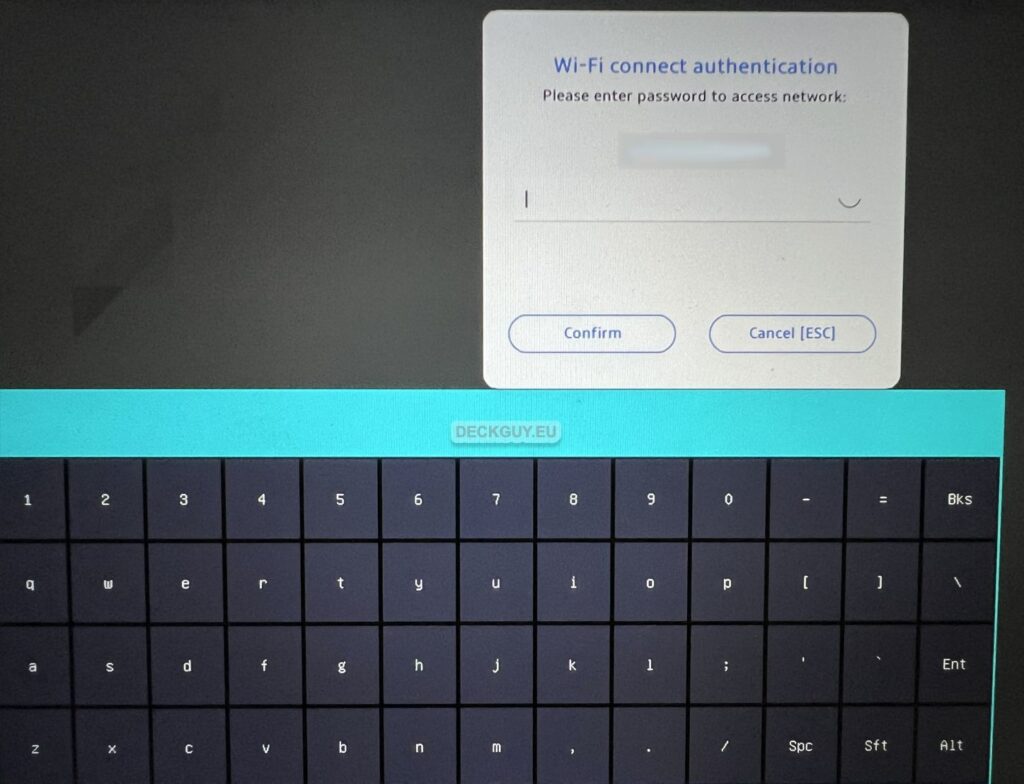
Enter password for your WiFi network and confirm.
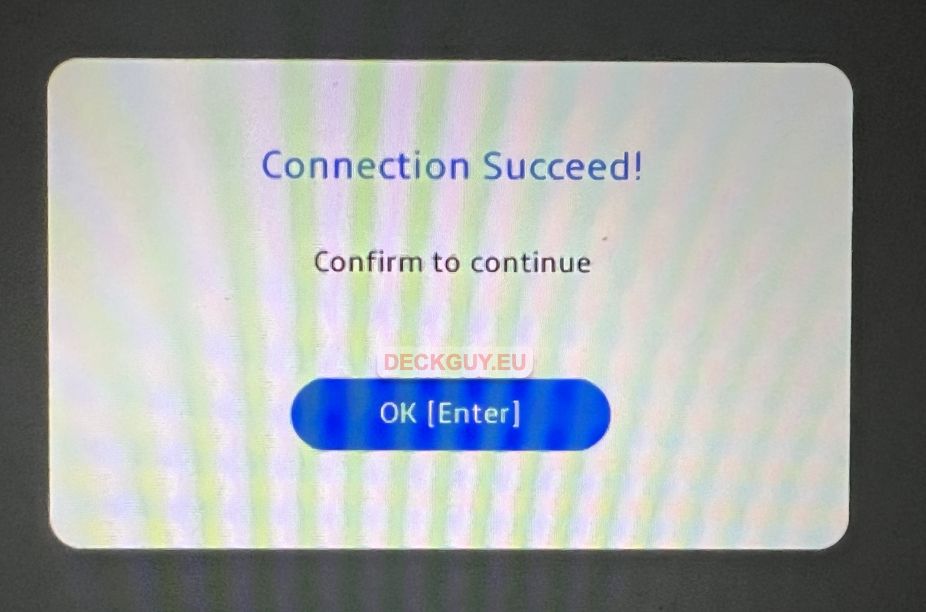
If everything went ok, you’ll get connection confirmation screen. Confirm again with OK to continue
One more check…
We are ready to download files – Next
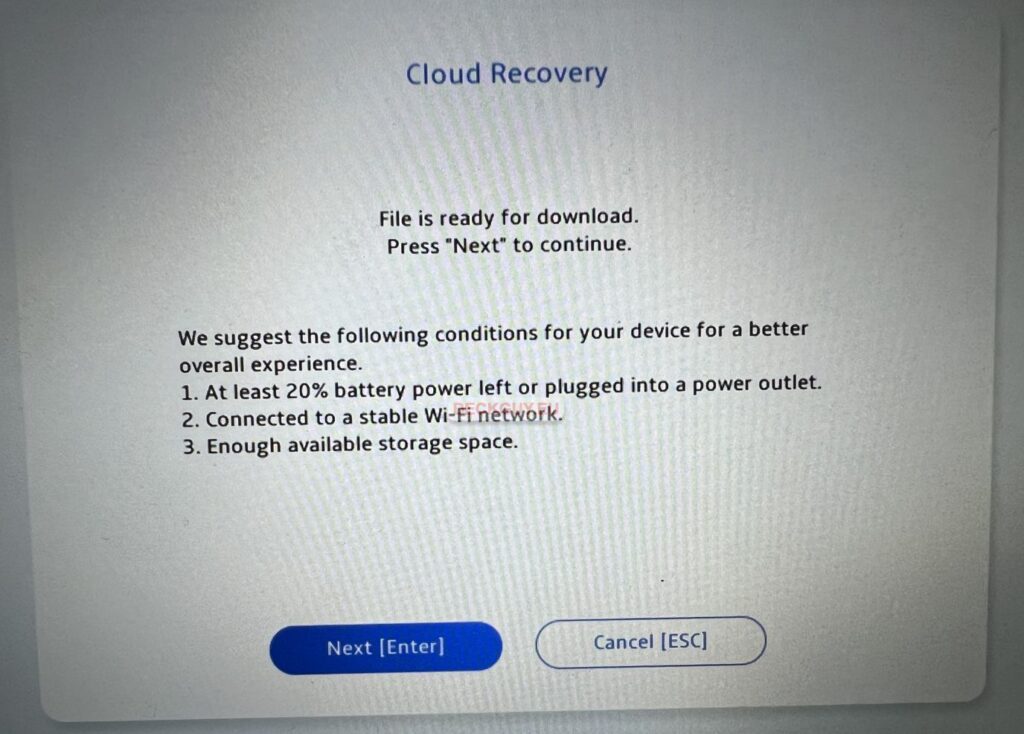
We are now waiting for download to complete…
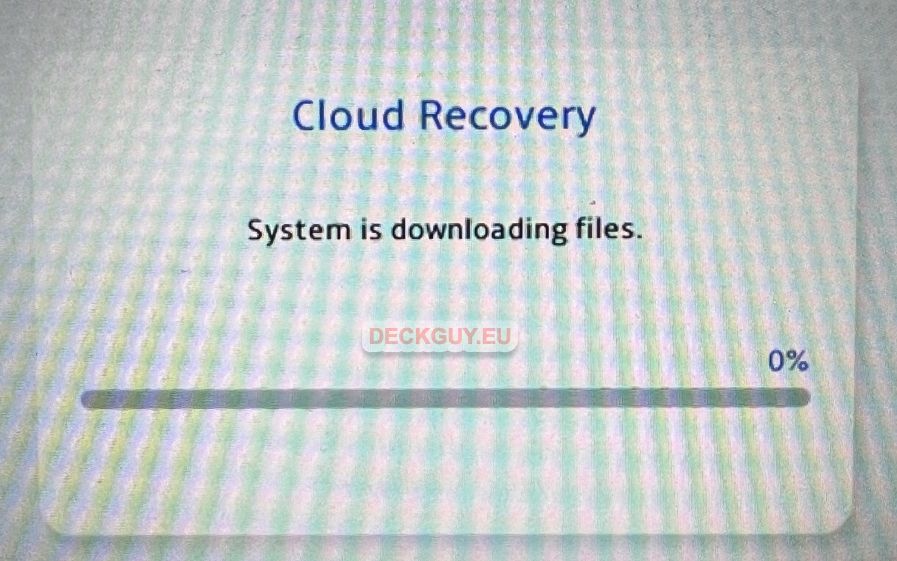
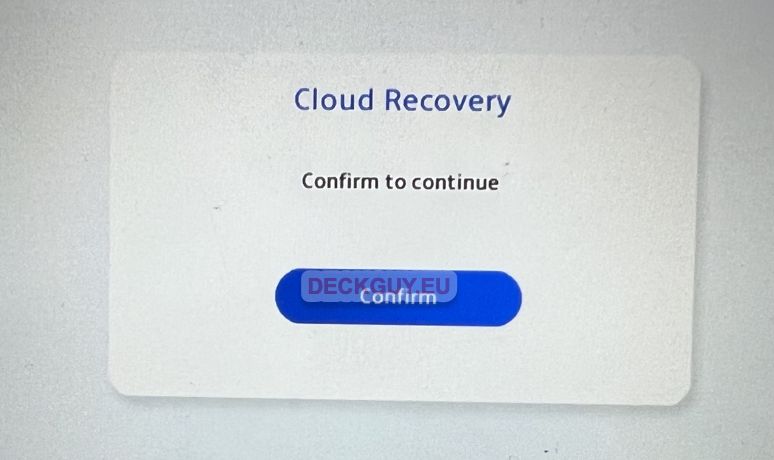
Some time later download is complete – Confirm
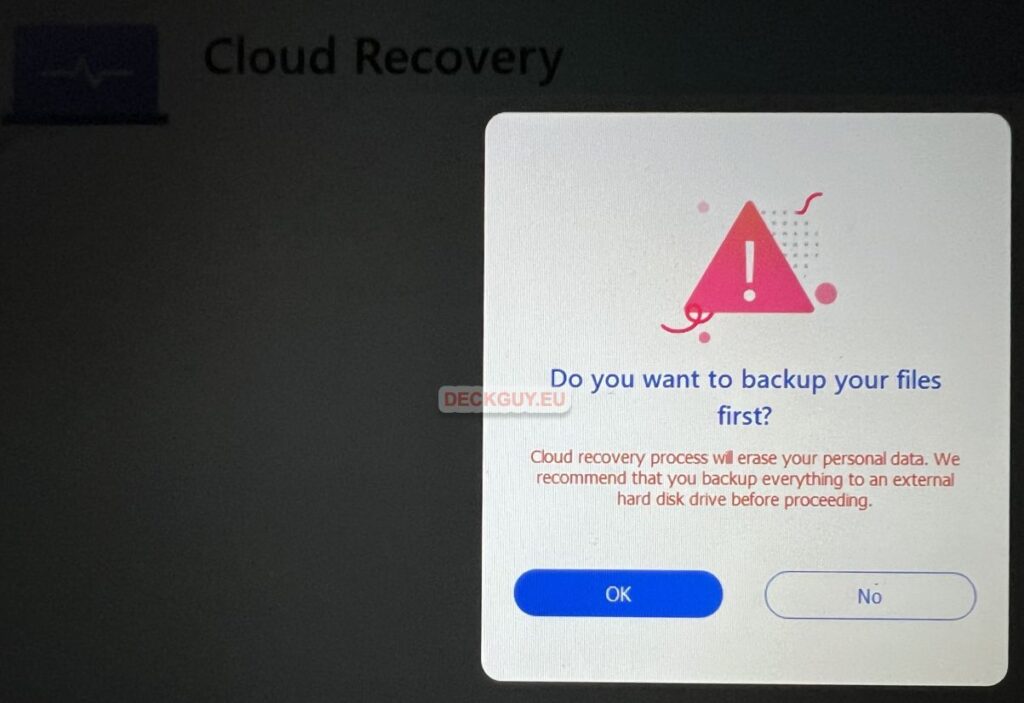
If you skipped backup and you have important files, this is your last chance. I don’t have anything to lose, so I’ll select No.
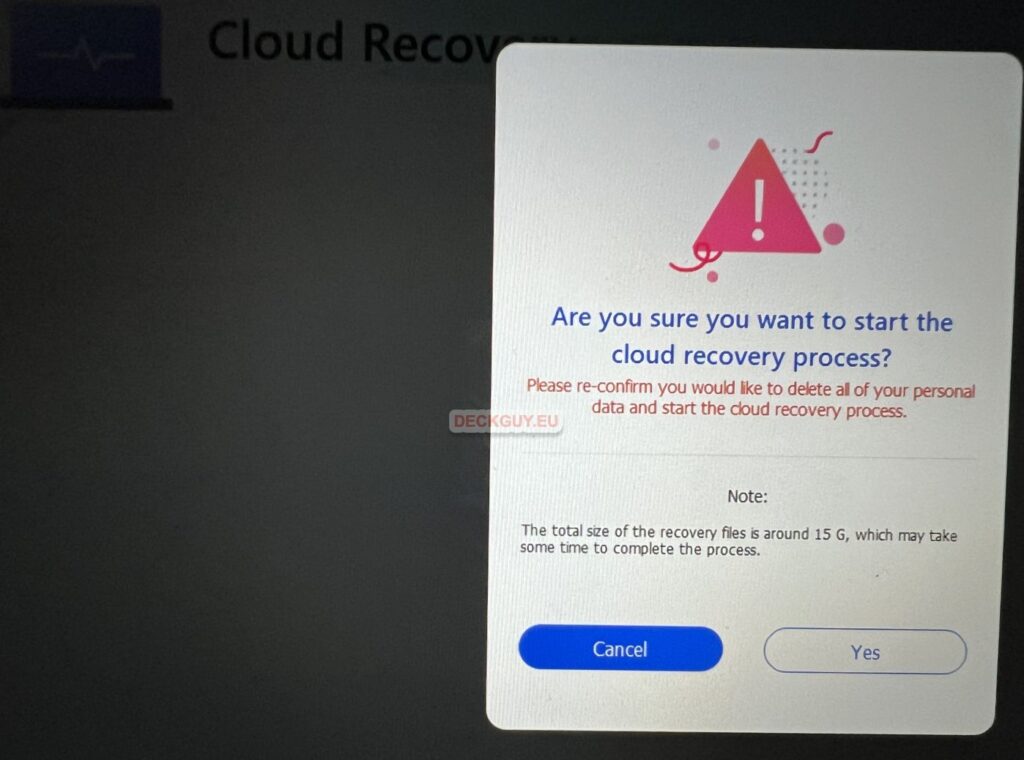
I’m sure I want to start cloud recovery process – Yes
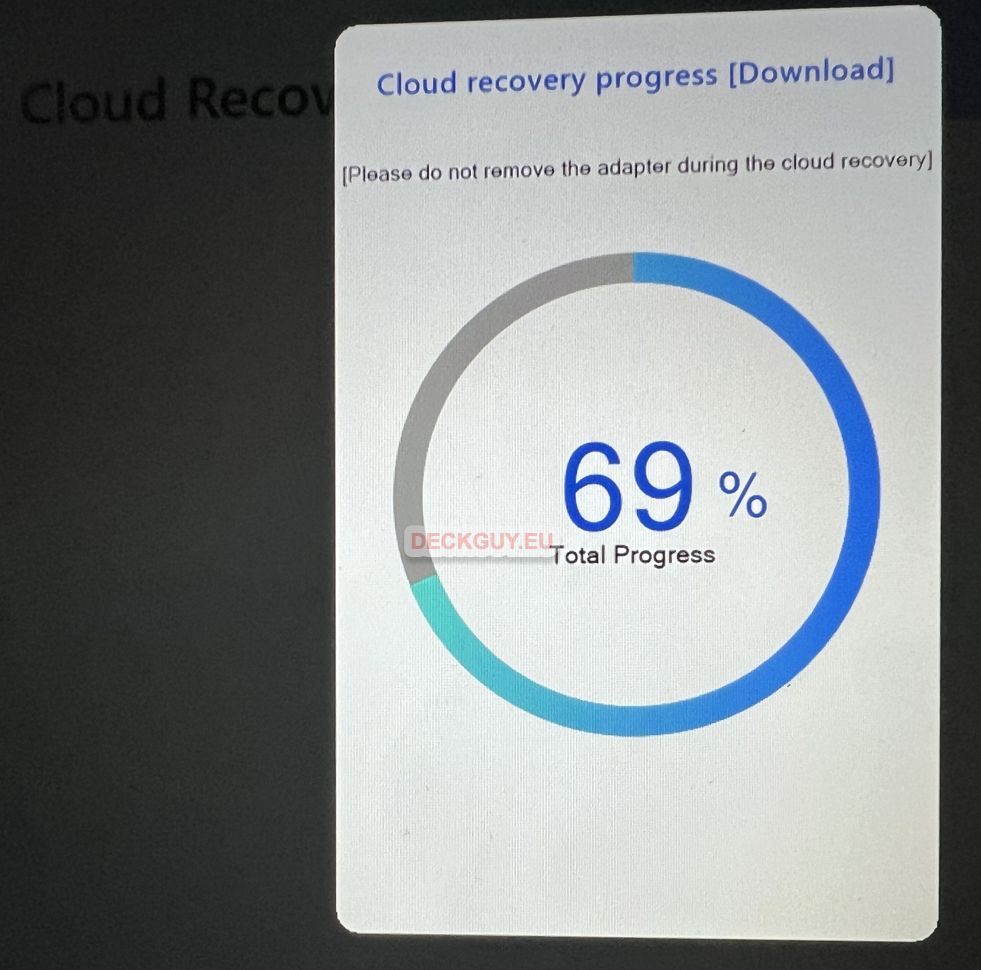
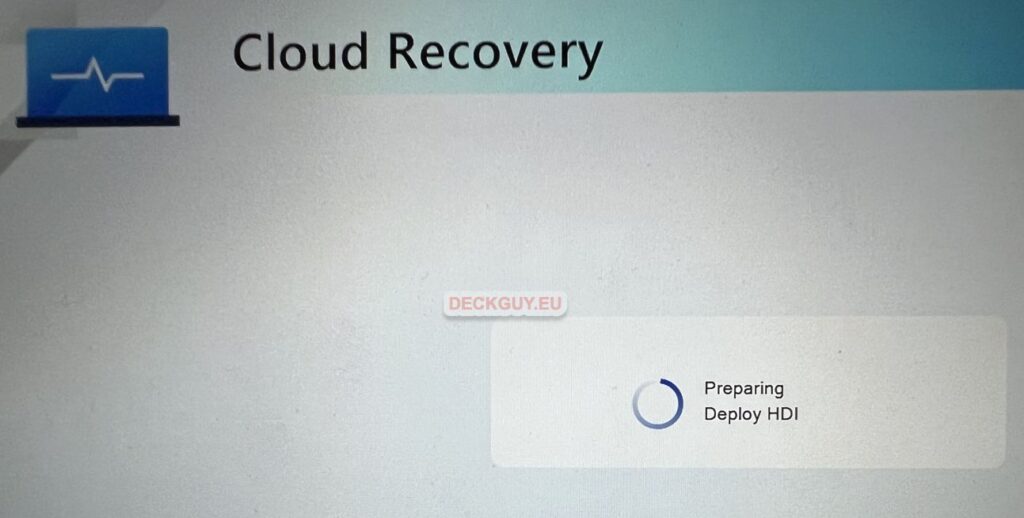
After you confirm that you wish to start recovery process, you have whole hour off, there is nothing you need to do. I will just put here few screenshots from the process. There will be multiple reboots along the way, so don’t be alarmed.
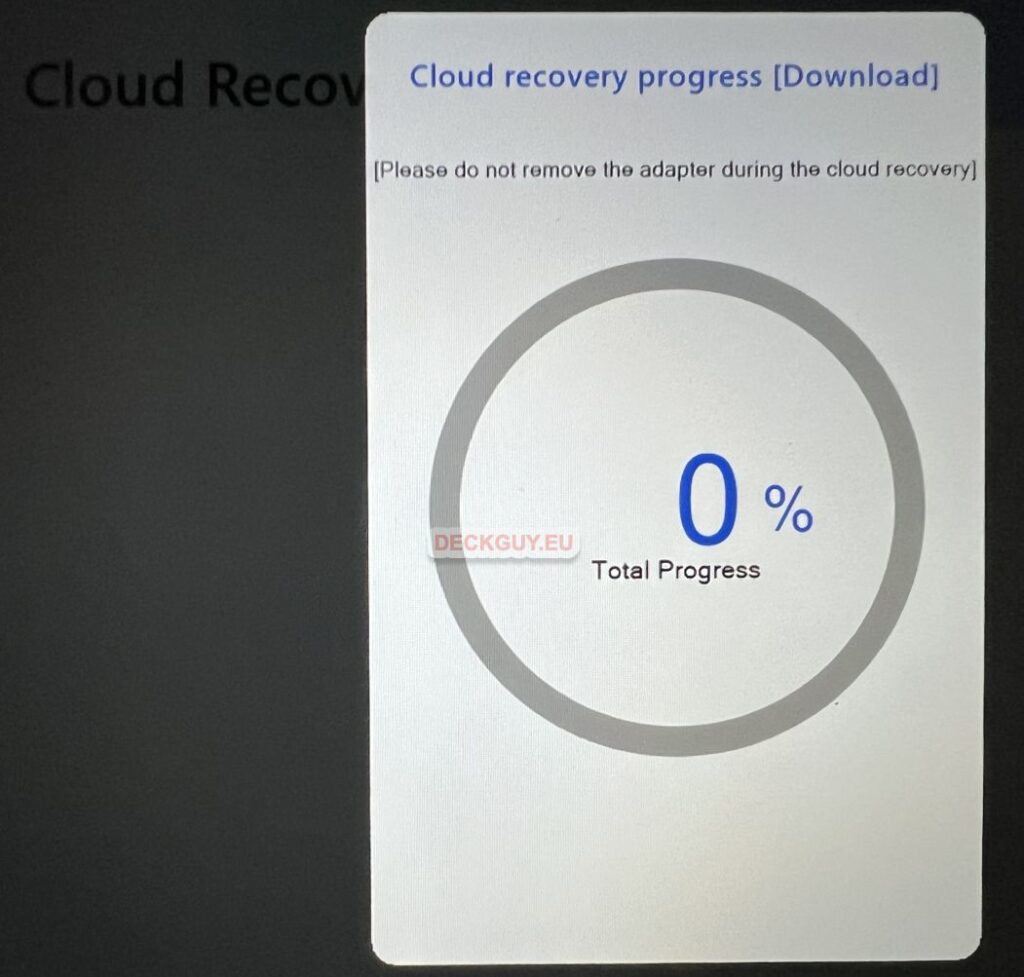
…
…
…
…
Ok, you get the idea, multiple screens, flashes and reboots…
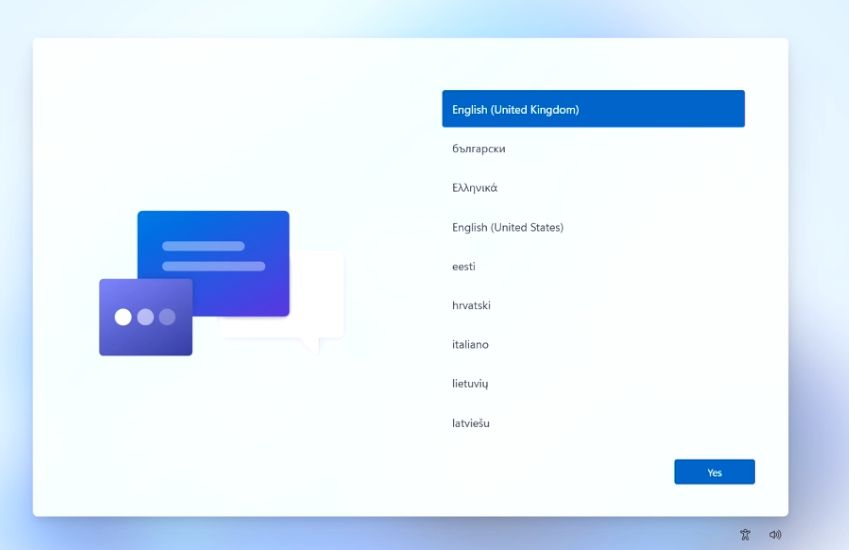
And finally after hour or more, your interaction will be needed again… We are at main Windows setup screen!
Select your language (if offered) and click on Yes
It is possible that if you select here something else then English (United Kingdom) that you will get error and will not be able to proceed. If that is the case, select English (United Kingdom) and proceed. Image is probably based on UK English.
Select your Country and click Yes

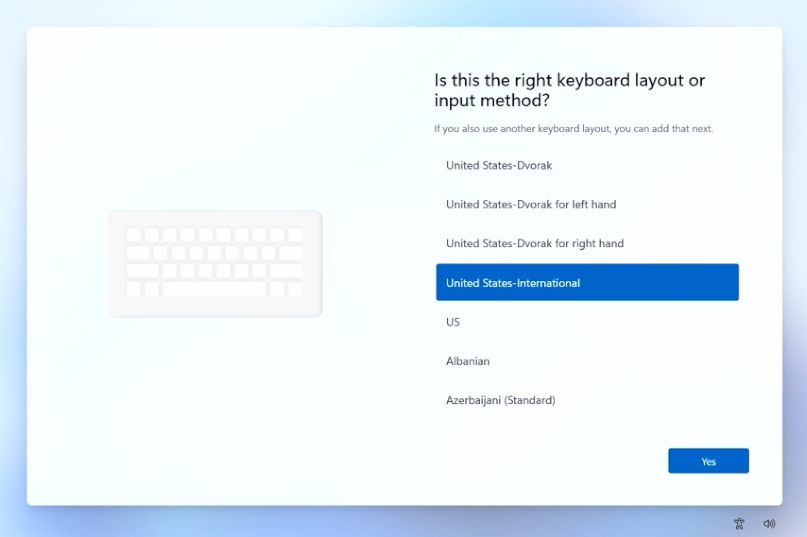
Select keyboard layout you like and confirm with Yes
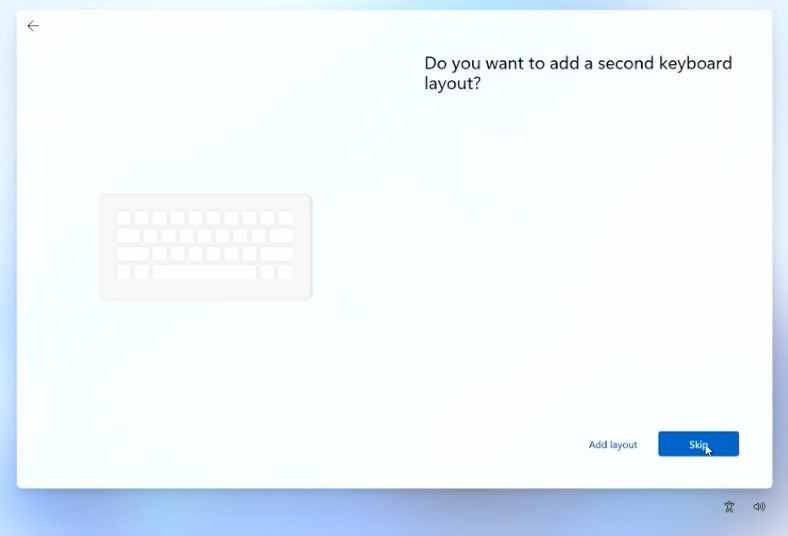
I will skip second keyboard layout
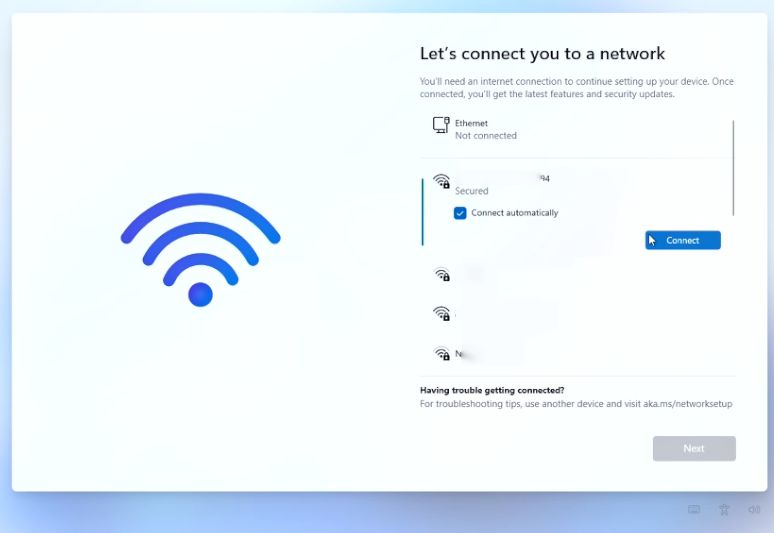
Now, this is a step where we might take different paths. I won’t use Microsoft account, so at this step I will try to circumvent this screen and use local account. So, if you WANT to use Microsoft account, you will connect to your WiFi at this step and continue by logging to your account. If you want to use local account, you will follow further my method. Whichever approach you select, further steps after entering your account are valid for both scenarios.
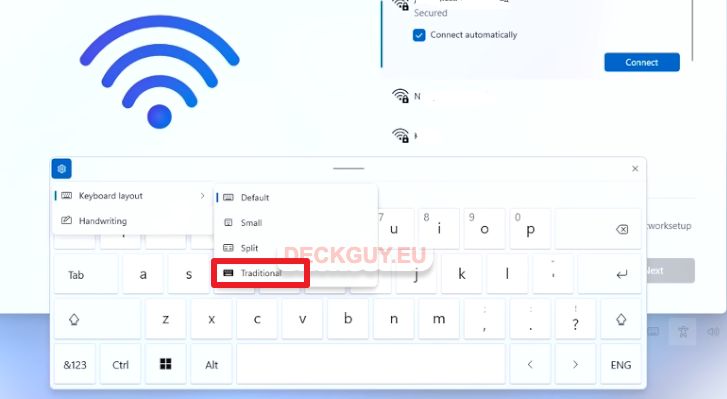
We will bring up on-screen keyboard by pressing UP button and M2 button – How to bring up on-screen keyboard on Asus Rog Ally? – DeckGuy
We will select little settings cog on top of the keyboard and select Keyboard layout – Traditional
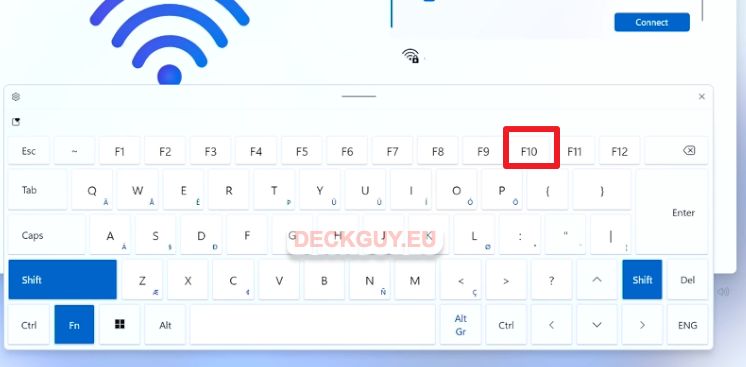
Now, press FN + Shift + F10 (in that order). It will bring up command prompt.
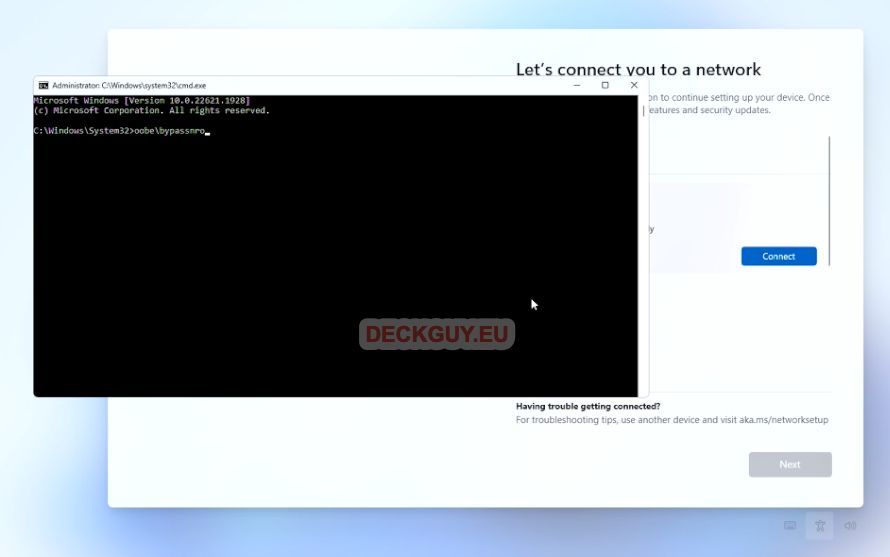
In command prompt enter oobe\bypassnro
Press enter. Ally will reboot
After reboot, initial setup of Windows will restart, so that means you will again have to select language, keyboard…
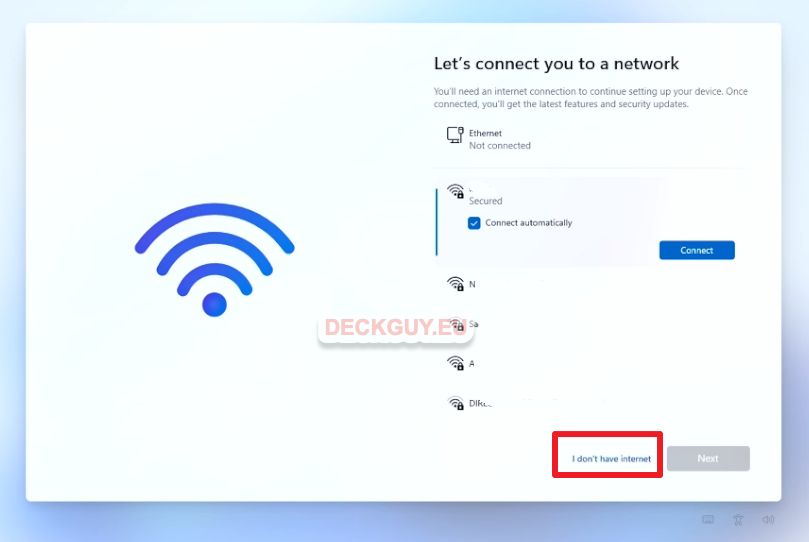
We will continue from the connection screen. Now, on “Let’s connect you to a network” at the bottom we have new little button which we will press – “I don’t have internet”
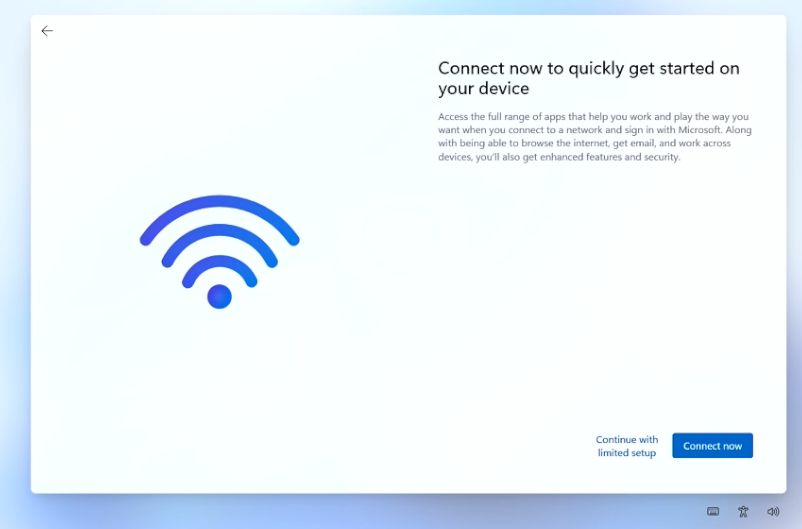
Select “Continue with limited setup”
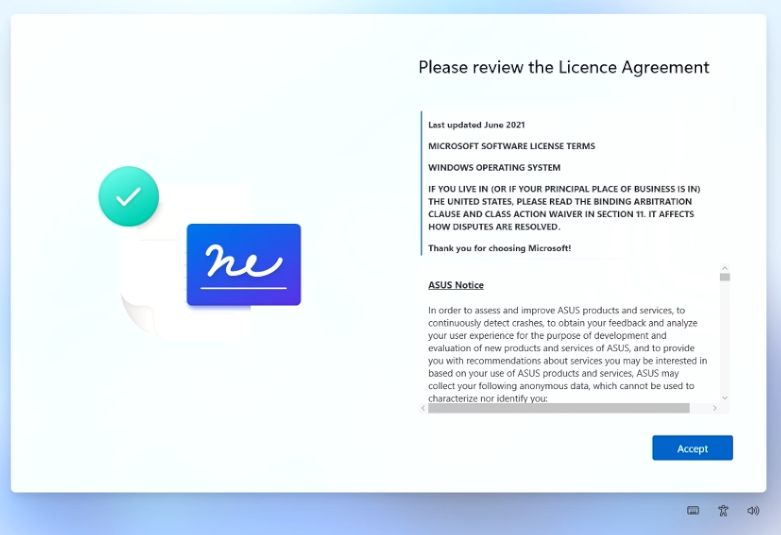
Accept
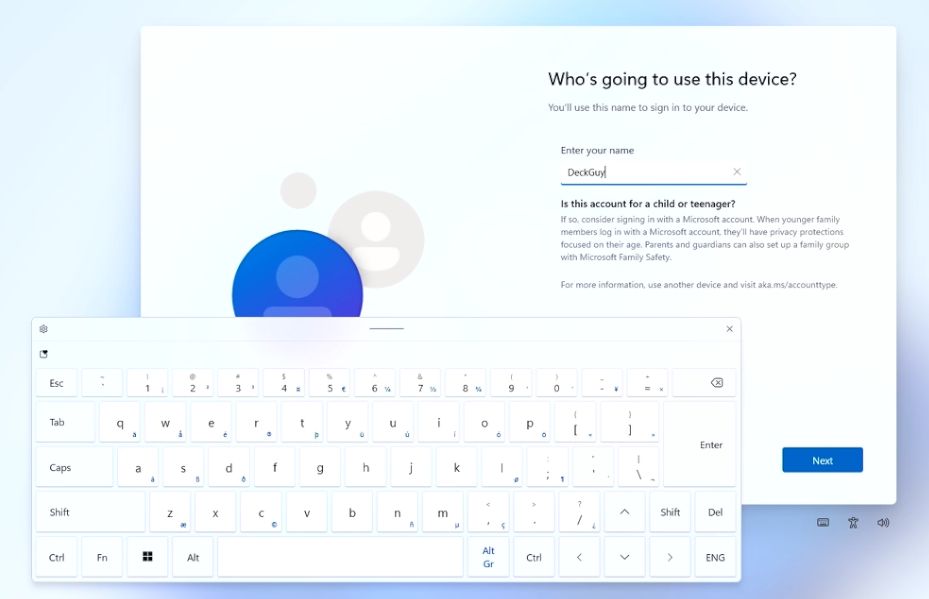
Enter username for you Windows installation – Next
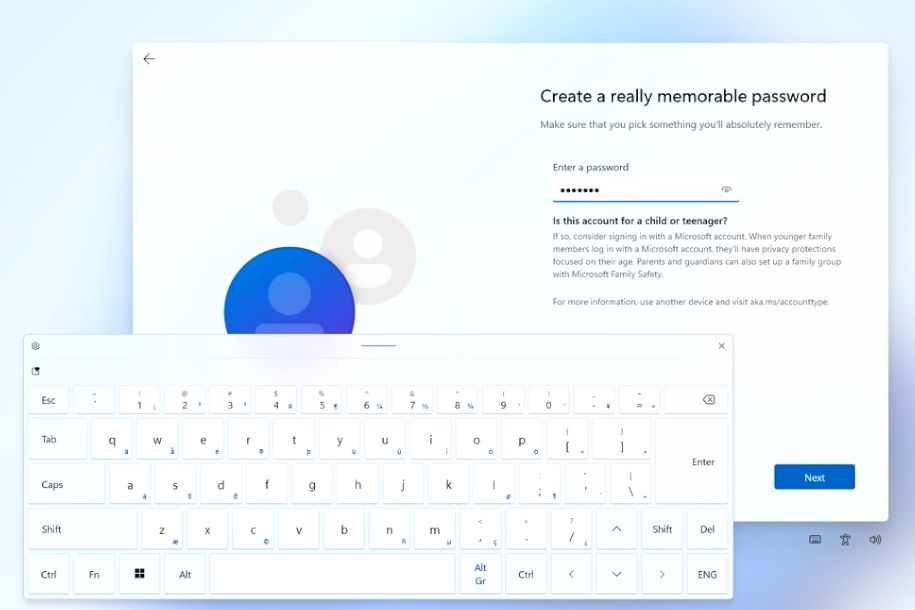
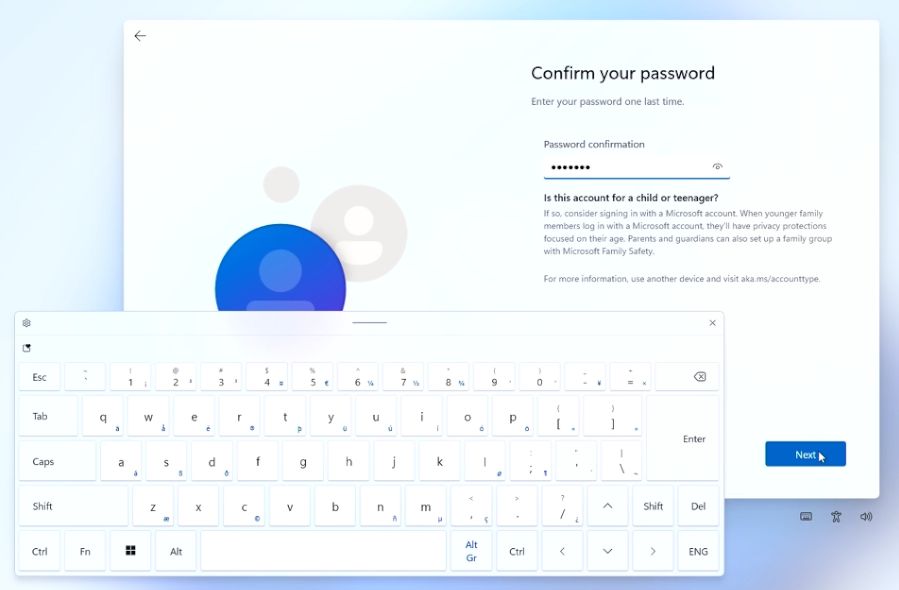
Enter password for your account, and then repeat it again. Next
Now, select three questions and write answer to them.
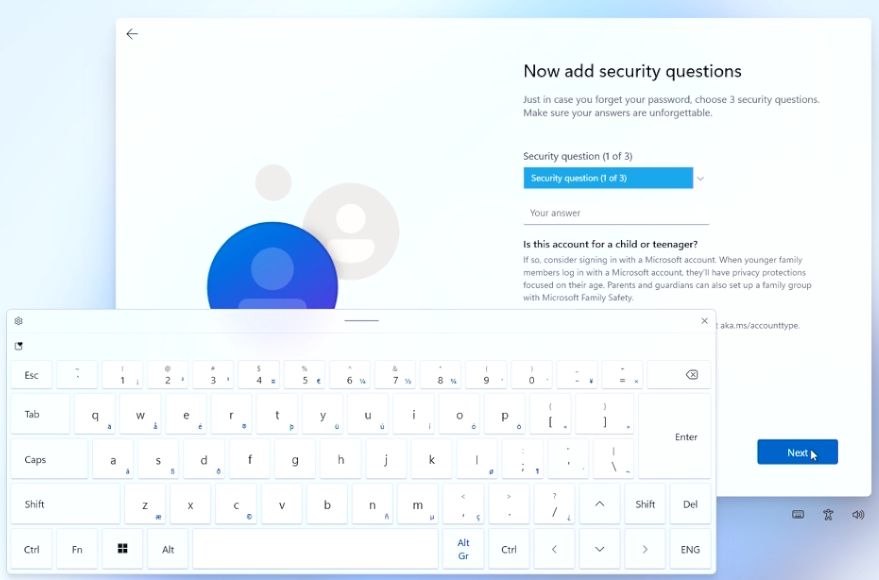
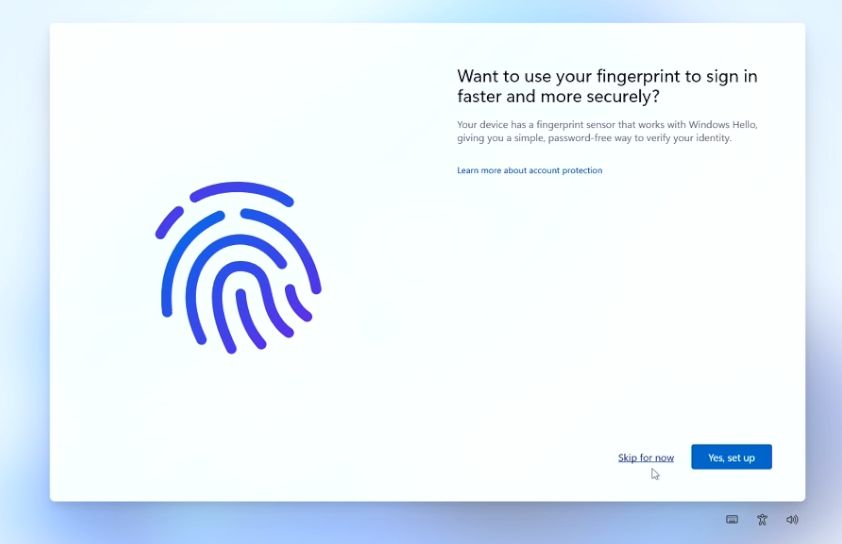
After you are done with questions you will be able to enroll login to Windows via fingerprint. I will skip it, you can setup fingerprint if you wish.
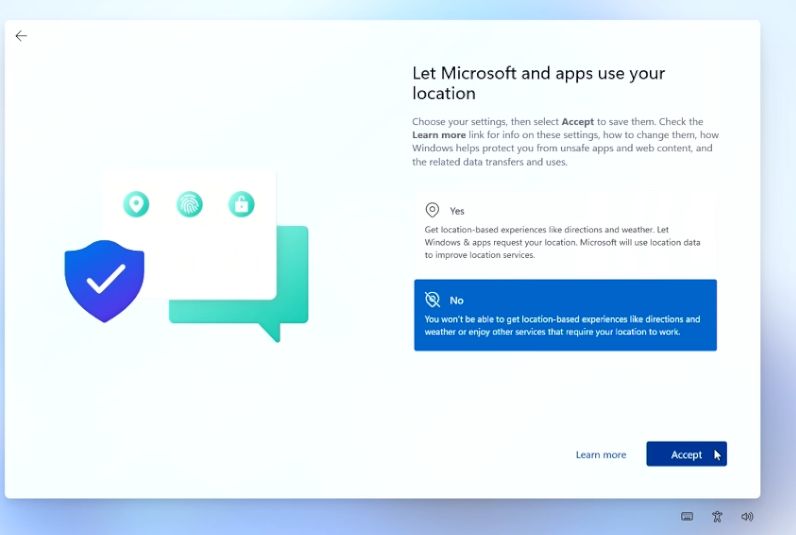
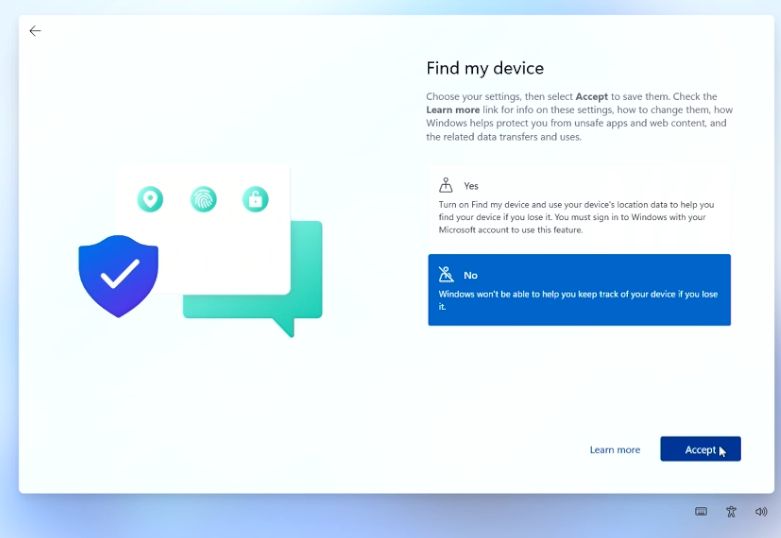
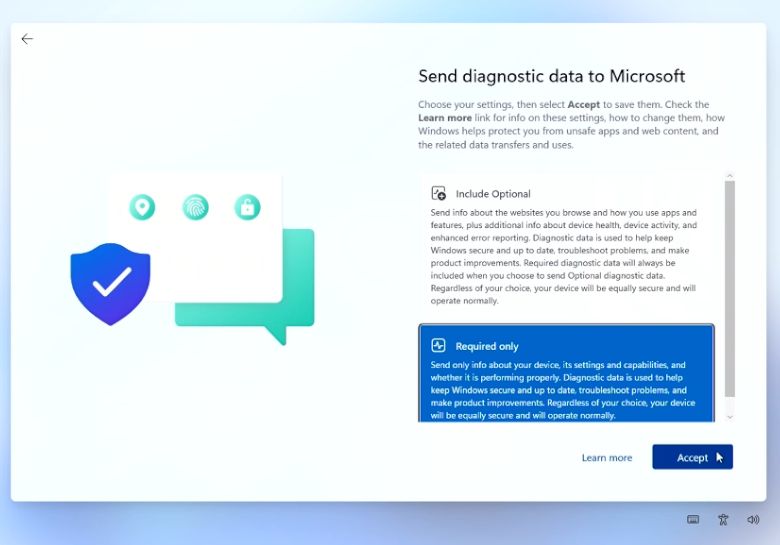
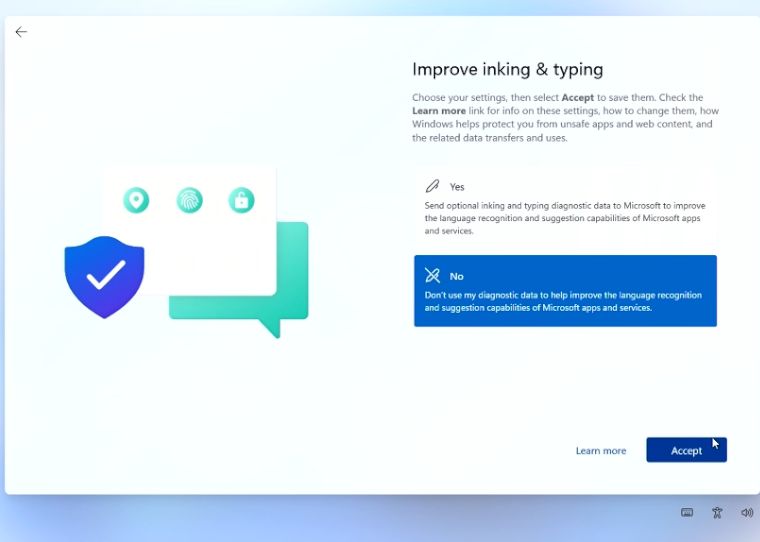
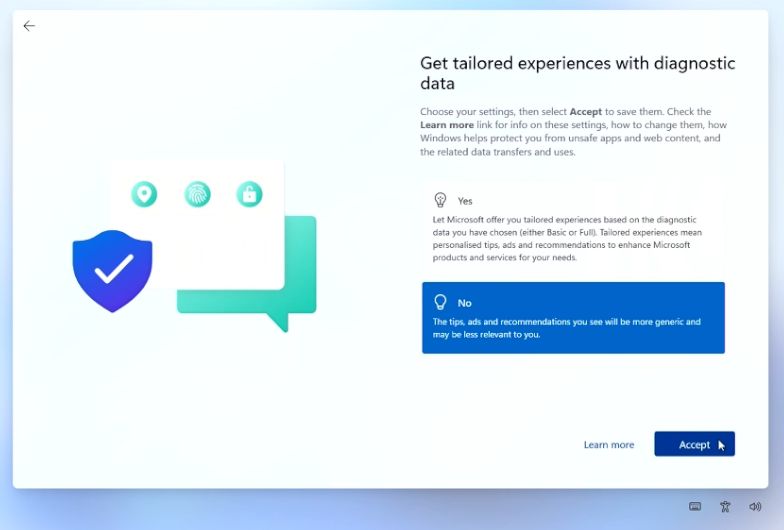
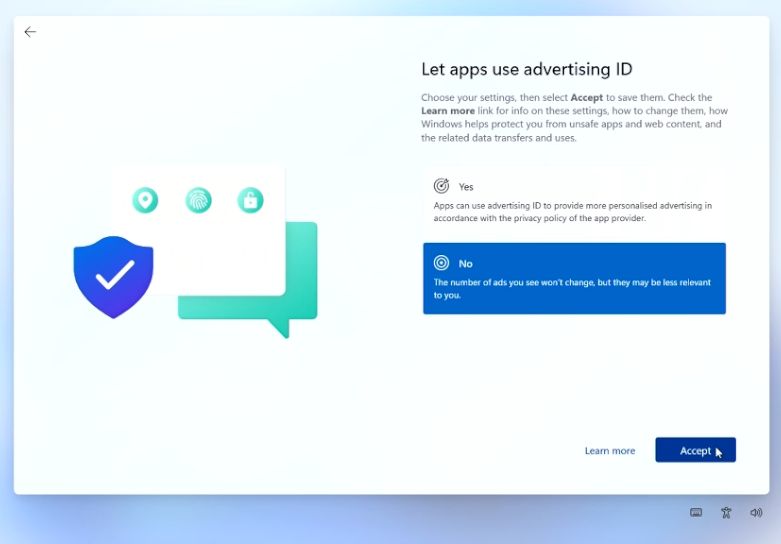
Next few screens will all be with No, or required only….
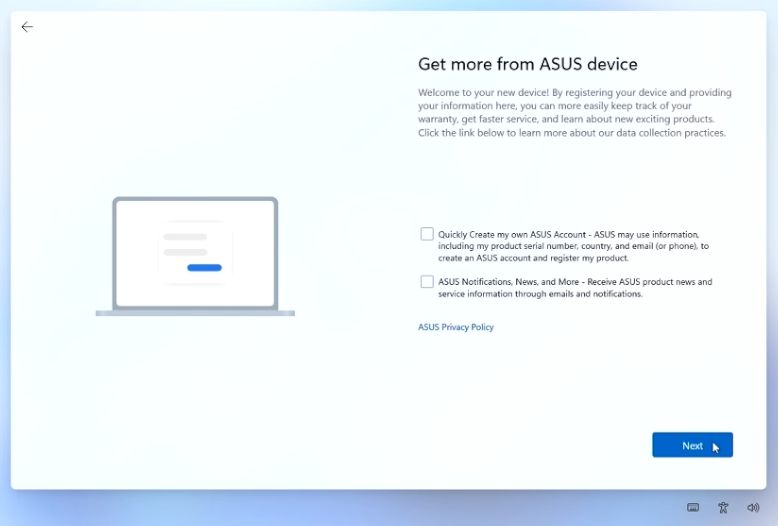
I will also skip Asus registration. I’m not interested in that part.
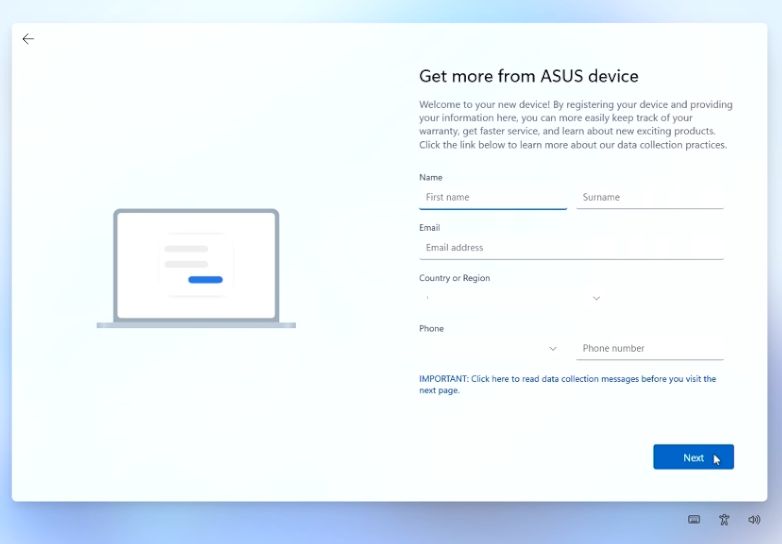
Unselect all and click Next
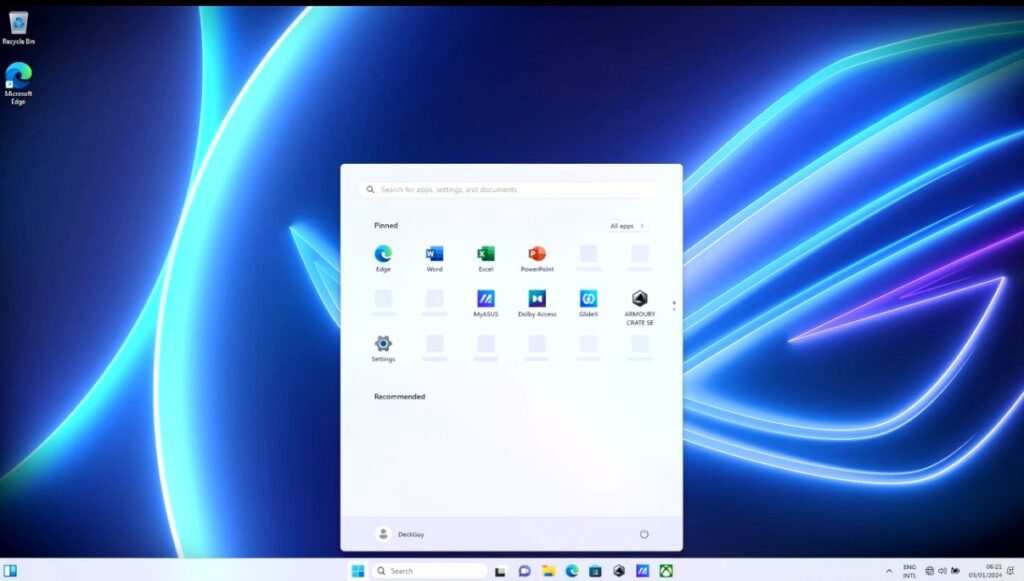
Finally, we will soon be on desktop.


There we are, fresh Windows install from Asus.
But this is only beginning – we have a lot of work to do, which I will cover in some of the next guides.